Showing posts with label Scallop Trim Border Punch. Show all posts

Tuesday, August 14, 2012

Creative Elements

 A beautiful card that I made when attending a fellow demo's class. It is so pretty and I fell in love with the set after this class. It in May, I think so some of the products are retired but they can be switched up to use current things very easily.

Stamp Sets: Creative Elements(w-122645 or 122647) and Bring on the Cake(w-121899 or c-121958)
Ink: Early Espresso(126974) and Pear Pizzazz(retired)

Paper: Very Vanilla(101650), Early Espresso(119686), Pear Pizzazz (retired)

Accessories: Pear Pizzazz Pleated Ribbon(retired),Pearl Basic Jewels(119247),  Scallop Trim Border punch(119882), Scallop Trim Corner Punch(118870)
Actually a very simple but beautiful card!

Have a great day!

Sharri

Monday, May 9, 2011

Greenhouse Gala and Hello Blossoms Card Sets

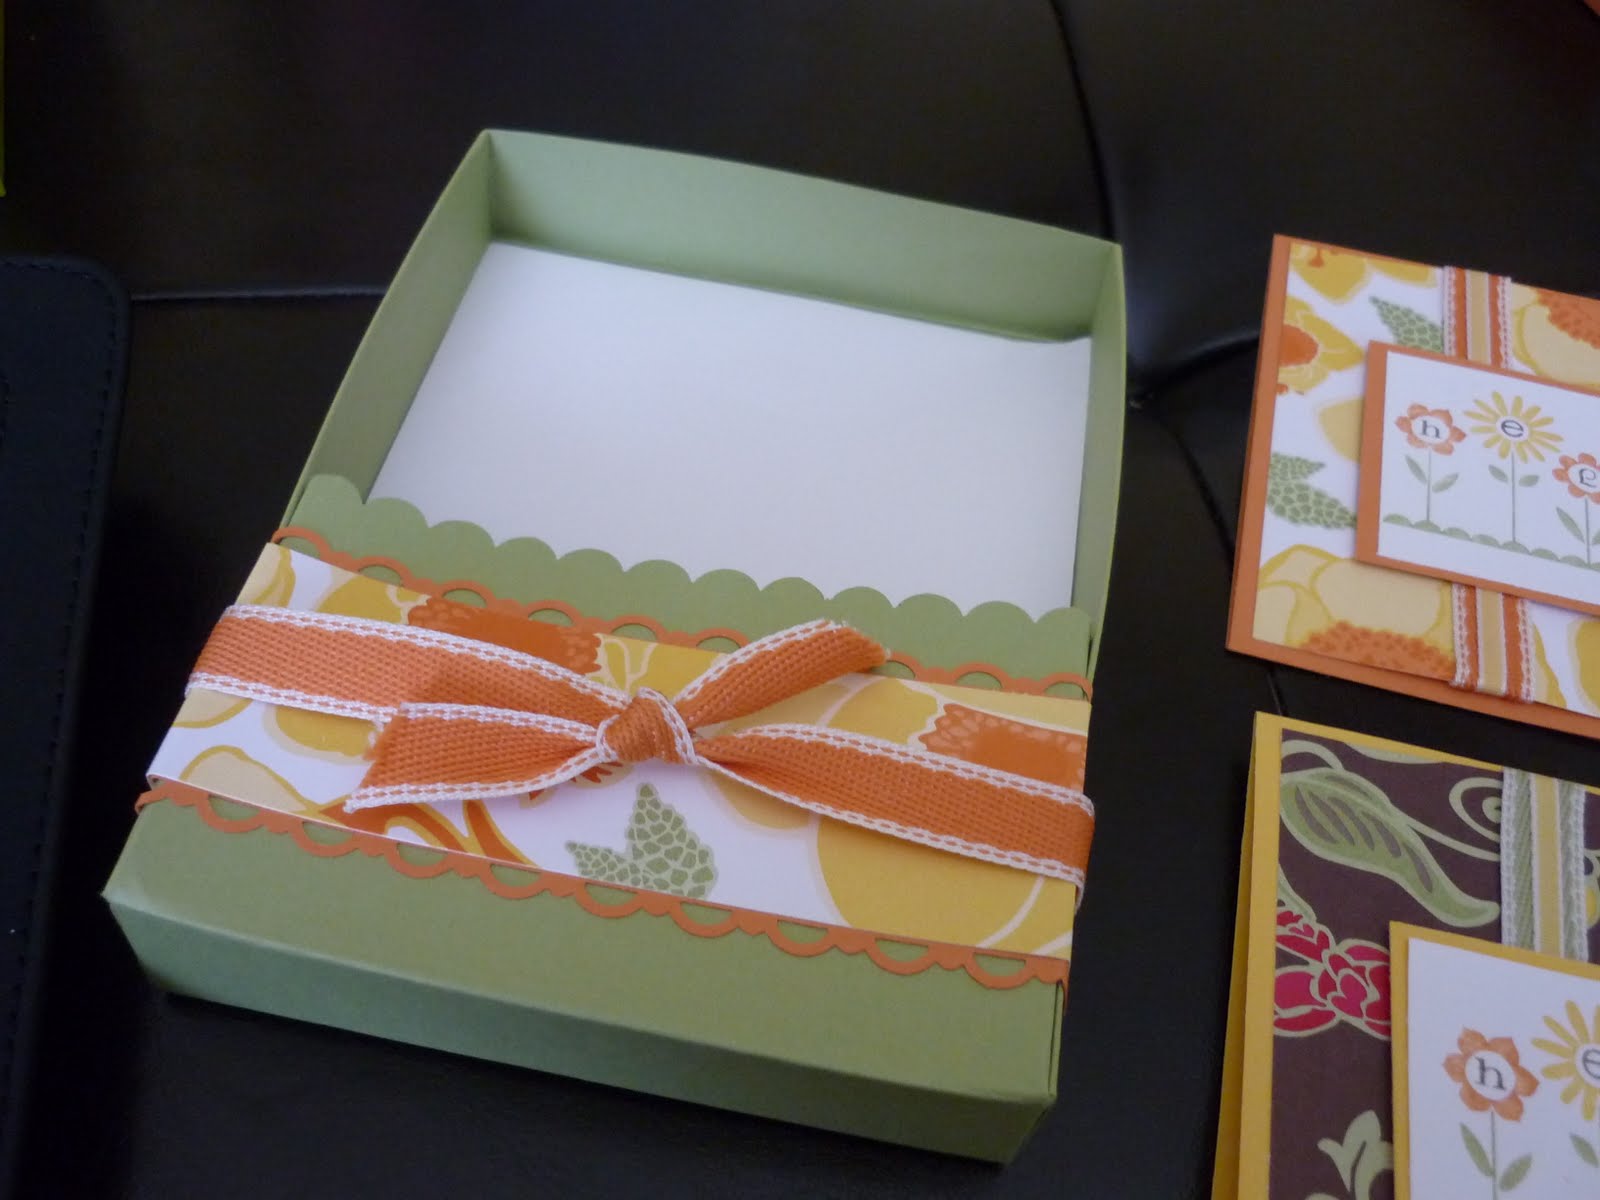
I made these cute cards sets for my niece and my daughter-in-law for gifts for Easter. The card box was cased from Elaine's Creations

They hold 3 cards and envelopes and really were easy to make.


The boxes were made using Pear Pizzazz and Peach Parfait cardstock They were decorated with the contrasting cardstock that has been punched with the scallop trim border punch on both sides and a strip of the DSP.
I then tied a piece of the 1/2 " poly stitched ribbon to match the contrasting cardstock.
                                            

The cards were cased from a fellow demo but I can't give credit because the picture I saved didn't have a watermark to identify the creator. I did change it up a fair bit.
Supplies used are :

Paper: Whisper White, Pear Pizzazz, Peach Parfait and Daffodil Delight, Greenhouse Gala DSP


Ink: Peach Parfait, Daffodil Delight, Soft Suede, Pear Pizzazz Stampin'Write Markers

Stamp Sets: Hello Blossoms

Accessories: Scallop Border punch, Pear Pizzazz and Peach Parfait poly stitched ribbon, Daffodil Delight 1/8" Taffeta ribbon,


These made simple but useful gifts for two young mothers.


Hope you will try these.


Thanks for coming by again!

Sharri


Friday, December 10, 2010

Christmas Gift Certificate Holder

I created this gift Certificate holder for someone who was really having a difficult time finding something to put a gift certificate in. It was a Christmas gift and it was purchased as so but the company who sold this put it in a business letter sized standard white envelope; she wanted to put it into something more festive.


To get the dimensions of the cards stock that I needed ( I used Crumb Cake), I measured the length of the envelope and added an inch so there was a 1/2" flap on either side. Next I measured the height, doubled this for the flap and added an inch to fold up on the bottom. These two measurements gave me the length and width of the card stock that I would need. ( My envelope measured 9 1/2" long by 4 1/4" high so my cardstock measured 10 1/2" long by 9 1/2" high. Next I scored the 10 1/2" side at 1/2" and 10" and the 91/2" side at 4 1/4" and 8 1/2". I folded the scorelines and trimmed off the excess 41/4" x 1/2" on either side of the front flap and the small 1" x1/2" pieces on the bottom flap leaving only a 1/2 " x 41/4 " piece on either side of the center panel. I trimmed a small triangular sliver on either end of these 1/2" flaps to facilitate the folds and closure. Next I cut a piece of Deck The Halls DSP 1/4" smaller than the cardstock, (9 1/4" x 10 1/4") and I rounded the corners of the ends of the cardstock and the DSP. I glued the DSP to the cardstock before folding and gluing the bottom flap to create the envelope holder. This seemed to work well and was easier to adhere this way. The envelope is created!

Now to embellish it...... I created a belly band with one of the strips that I had trimmed off of my 12 x 12 Cardstock and I used the scallop trim border punch on either side of this. I cut another piece of DSP from the Deck the Halls paper pack and adhered it to the belly band.


  I cut some snowflakes from the Northern Frost Decorative strip in Cherry Cobbler, Early Espresso and Crumb Cake cardstock and layered them with Glimmer brads on the belly band and the front and back of this envelope.

I used Tombo Mulit Liquid Adhesive for this project, I have come to love this adhesive, it has some wiggle time when adhering two pieces of paper and it will never come apart. You have to respect it though and be very sparing with its use.


 Here are some of the snowflakes on the back as well.
The last thing I did with this was to spray it with the alcohol and Shimmer Paint mix. I love the sparkle you get from this and I don't find it falling off my projects, it stays put.

I hope you enjoyed this project and will be inspired by it.

Thanks for stopping by,

Sharri

Thursday, November 4, 2010

Royal Blog Tour......Welcome to my castle! Silhouette Sentiments

I want to welcome everyone to the Fall Royal Blog tour and to my castle!

This is the first time I have participated in the tour; although I have enjoyed visiting many castles in the past. Hope you have enjoyed the tour so far.

The stamp set I have chosen to profile for this tour is one of the hostess sets in the current Stampin"Up Idea Book and Catalogue called Silhouette Sentiments. I found it to be a very versatile set and fun to use.It can be found with the level two hostess sets in the front of the Idea Book and Catalogue, page 11.


First up I have created a note card gift set using:

Paper/Card Stock: Poppy Parade, Whisper White, Daffodil Delight, Peach Parfait, DSP is from the InColor Paper Stack.

Inks: Poppy Parade, Daffodil Delight, Peach Parfait, Pear Pizzazz, Early Espresso Stampin'Write markers

Accessories: Bigshot, Square Lattice embossing folder, Big Shot FrameScalloped Oval die, Twill Ribbon in Poppy Parade and Peach Parfait, 1/8 inch Taffeta ribbon in Daffodil delight and Early Espresso, Extra Large Oval punch(wide oval) for the handles, Scalloped Oval Punch, new Medium 3/4 x 15/16 inch oval and the Decorative Label punch from the Holiday Mini catalogue, 1inch Circle punch, Basic Pearl Jewels, Beautiful Wings embosslit, linen thread

The pearls are colored with the Stampin'Write markers to give them a different feel/look it is very sutle but pretty. I put a white oval, from the center of the Big shot Frame Scalloped Oval on the inside of each note card so there is a nice place to write a note. I appologize for the poor photography, we've had a very dull dreay week here and the pictures are not as clear as I'd like.
Next I did a more masculine flavor using an Early espresso base for the card, I ran a piece of Very Vanilla card stock through the Big Shot with the square lattice embossing folder that was inked on one side with Crumb Cake classic ink, I used the Scalloped Oval and Decorative label punches for the focal image and stamped it in Early Espresso Classic ink. The images on the bottom of the card are Stamped in Crumb Cake ink on Crumb Cake card stock and embellished with some 1/8 inch Early Espresso Taffeta Ribbon

Using the Marker technique this set is perfect to create inserts for the Simply Adorned Charms; this one is the 1x2 inch pendant.

And lastly my favorite project! .....I have been seeing all kinds of holders, covers etc for purse items on many blogs so I thought it would be fun to create a purse gift set with all of these things in it. I used:

Paper/Cardstock: Concord Crush, Very Vanilla and Blushing Bride, DSP - Lap of Luxury

Inks: Concord Crush, Blushing Bride

Accessories: Antique Brads, Big Shot, Bigz die Scalloed Squares Duo, candy wrapper die, new in the Holiday Mini catalogue, Tag punches, large and small, Mini tag punch, large oval and scalloped oval punches, Concord Crush and Blushing Bride Twill ribbon, Rhinestone Jewels, Beautiful Wings Embosslet, scallop border punch, large scalloped circle punch, wide oval punch


Inside are an emery board holder/cover, TicTac holder, tissue holder, a postit note holder and pen, a chapstick/lipgloss holder, I extended the new candy wrapper die to hold a small tube of hand cream, holder for gum and another for chocolate......every girl needs chocolate in her purse.


I hope you have enjoyed this leg of your tour and if you have please leave a comment.

If you send me (sharri@rogers.com) your email address and are Canadian you will be eligible for a random draw for blog candy........ I have for you..... A Day of Gratitude Stamp Set in Clear Mount.

Thanks for spending time in my castle.

Sharri.

Tuesday, June 8, 2010

Travel Memory Keeper


We are soon off on an Alaskan Cruise Tour with friends. There will be 4 couples so it should be a good time.
I made these travel Journal/Memory Keepers for each couple to keep note and to journal about each day we are away.
I used Kraft/Crumb Cake Cardstock as the base and embellished them with Pumpkin Pie and Night of Navy card stock, the new Travel Journal DSP and Sentimental Journey stamp set both of which are found in the Summer Mini catalogue.
I made a belly band with the Scallop Trim border punch which will be available July 1st when the new catalogue goes live and found pens at the dollar store that I embellished with some DSP as well.
Inside are cards where the date and place can be noted and then space to journal about the place or events of the day.

I was really pleased with these and the recipients were as well.


If you would like to know where to find the tutorial on how to make these please email me privately at :

sharri@rogers.com

and I will send you the info.

Please be patient as I am going away but I will try to send it to you asap.

Thanks for stopping by!

Sharri

Sunday, May 16, 2010

It's hip to be square!

I have finally manged to get back to my blog......it's been one of those weeks! again. I seem to have alot of those lately, either I'm really busy or much less organized than I used to be.....hmm I wonder what it is?

This is the title of the posting on Leeann Greff's blog where I cased this card from.
It can be found here:

http://flowerbug.typepad.com/my_weblog/2010/04/punch-art-square-flowers-.html


I had to do a punched card for a swap and loved the simplicity of this card so I changed up the colors and cased it. I used Pink Pirouette and Melon Mambo for the pinks and Tempting Turquoise and Brilliant Blue for the blues.

The Scallop Trim Border Punch 1/4 inch Whisper White Gross Grain ribbon and the Circle Ice Rhinestone brads as well as a blue button from the Playground Collection.
The sentiment is from the Hello Stamp set.

The flowers are 3/4 inch squares that have been rounded on opposite corners.

Hope you like this.

Thanks for stopping by!

Sharri

Tuesday, April 27, 2010

One layer, Clean and Simple

This is a fun card that I cased the technique from Dawn Griffiths again; here is a link to the video:

http://www.youtube.com/watch?v=60hBONREyfk&feature=player_embedded

she and I have similar styles/tastes I guess.


It's very impressive in real life. I used Whisper White card stock, Orchid Opulence classic ink, the scallop trim border punch and the "With All My Heart" stamp set.

Hope you enjoy and will try this technique.

Have a great day!

Sharri

Friday, April 16, 2010

Abundant Hope, Easter Blessings

I can't believe it's been so long since I posted, so sorry!! I've had these pictures in my camera and forgot about them. After Easter we ran away for a few days and then coming back to work had me busy, busy so that's my excuse.

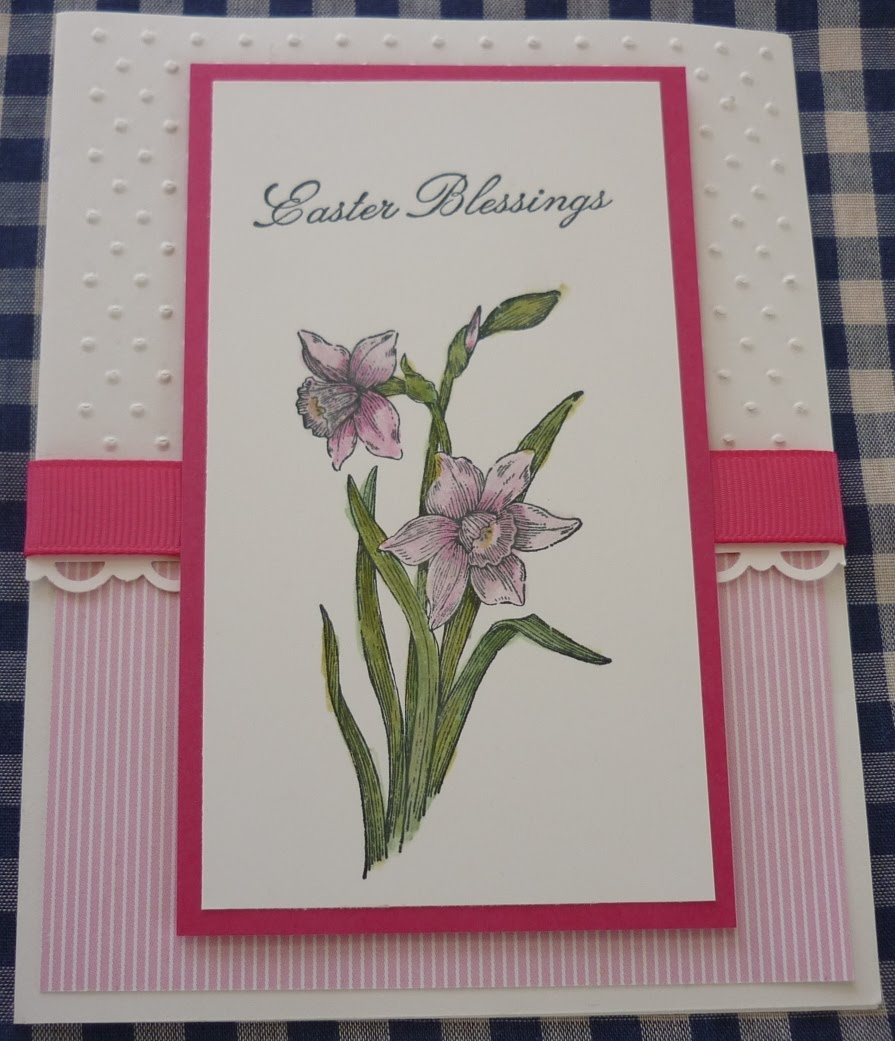
These are some cards I made using the Abundant Hope Stamp set from the current Occaisions Mini along with the Scallop Trim Border punch, Embossing folders and ribbon. The coloring was done with a blender pen and ink so easy to do and once stamped the images are so simple to color.


I have more to share so come back soon to see; I promise it won't be as long between posts.


Thanks for coming by.

Sharri

Friday, March 26, 2010

Oriental Vase

Here is a fun card I did for a color swap; the card had to have Red, Black and Yellow on it; this combo screams Asian to me; so I pulled out the Eastern Blooms and Tiny tags stamp sets, I used Real Red, So Saffron and Basic Black card stock, the Scallop Trim border punch from SAB and the Ornament punch that is still available as a write in on an order and the Medium Jewelery Tag punch from the Ocaisions mini catalogue.


The small flowers are from the trio flower punch and a miscellaneous punch that I had, a few black brads and I used a thin strip of card stock to tie the tag to the vase which was created by punching the ornament shape from some so saffron card stock that has been run through the Big shot with an embossing folder, then I cut a bit of the bottom off and Voila! a vase. It's very plain but effective. I liked it.
The strip of yellow on the black border is also DSP from the SAB Welcome Neighbor paper stack.

Hope you have a great weekend!

Sharri

Friday, March 12, 2010

With All My Heart/Love Easel Card

This card is a favorite of mine, it was inspired by Dawn Griffiths, http://www.dawnsstampingthoughts.net/2010/01/easel-card-video-.html

I had been wanting to try making an easel card and this looked so easy........ here is my version.
I used Bermuda Bay, Basic Black and Whisper White cardstocks, the new Scallop Trim border punch with matching corner punch, the new Heart of Hearts and Beautiful Wings embosslits, the new mini heart punch, Heart to heart punch and the full heart punch. The stamp set is With All My Heart stamped with Basic Black ink. The closed card size is 4"x4".


Thanks for stopping by,
Have a great weekend!

Sharri

Friday, February 5, 2010

White, Blue and Silver Hearts

One of the groups I belong to has a monthly swap and these are the cards I made for the Blue White and Silver swap. I got to play with my new toys....I love pretty much everything in the new Mini catalogue.
Both cards have the same elements, Night of Navy and Whisper White card stock, Night of Navy Classic ink and the Silver Shimmer paint. The Small Heart, Large Full Heart, Heart to Heart punches and a border punch. The stamp sets were I{Heart} Hearts and Vintage Vogue.

I created a background with Night of Navy and the floral flourish from Vintage Vogue by randomly stamping all over the Whisper white CS, next I stamped the friend heart onto the center of the background. I used the silver shimmer and applied it with a sponge dauber to the patterned heart in the heart set and stamped them onto the Night of Navy CS then punched them out with the Full Heart punch. I used the sponge dauber to color a small piece of Night of Navy CS and then punched out with the small heart punch, the smallest heart from the Heart to Heart punch was layered on top.
I placed the punched hearts as you can see in the picture and trimmed the excess off, popping up the small hearts with dimensionals. Punched a border along the bottom of the Navy layer and used the sponge dauber again to sponge Silver shimmer paint on the punched border. A Whisper White satin ribbon finishes it off.

The border of this first card was stamped onto the Navy CS using the border from Eggcoutrements stamp set which was then punched out with the Scalloped border punch, it fits very well.

For the second card I used the ticket corner punch and the new Scallop Trim punch, it is otherwise the same
Thanks for looking, have a great weekend!
Sharri