Showing posts with label Eyelet Border Punch. Show all posts

Thursday, July 5, 2012

Matching Envelope

The Never ending card was 6x6" square so it was a given that I would have to make an envelope to fit this odd sized card. It was easily done though with Stampin'Up's Simply Scored Scoring Tool(122334) and the Diagonal(125586) plate that goes on it.

The envelope used  piece of, now retired, Berry Blossoms DSP(122350). I used the guidelines for making an envelope that came with the Scoring tool and the Diagonal Scoring Plate.
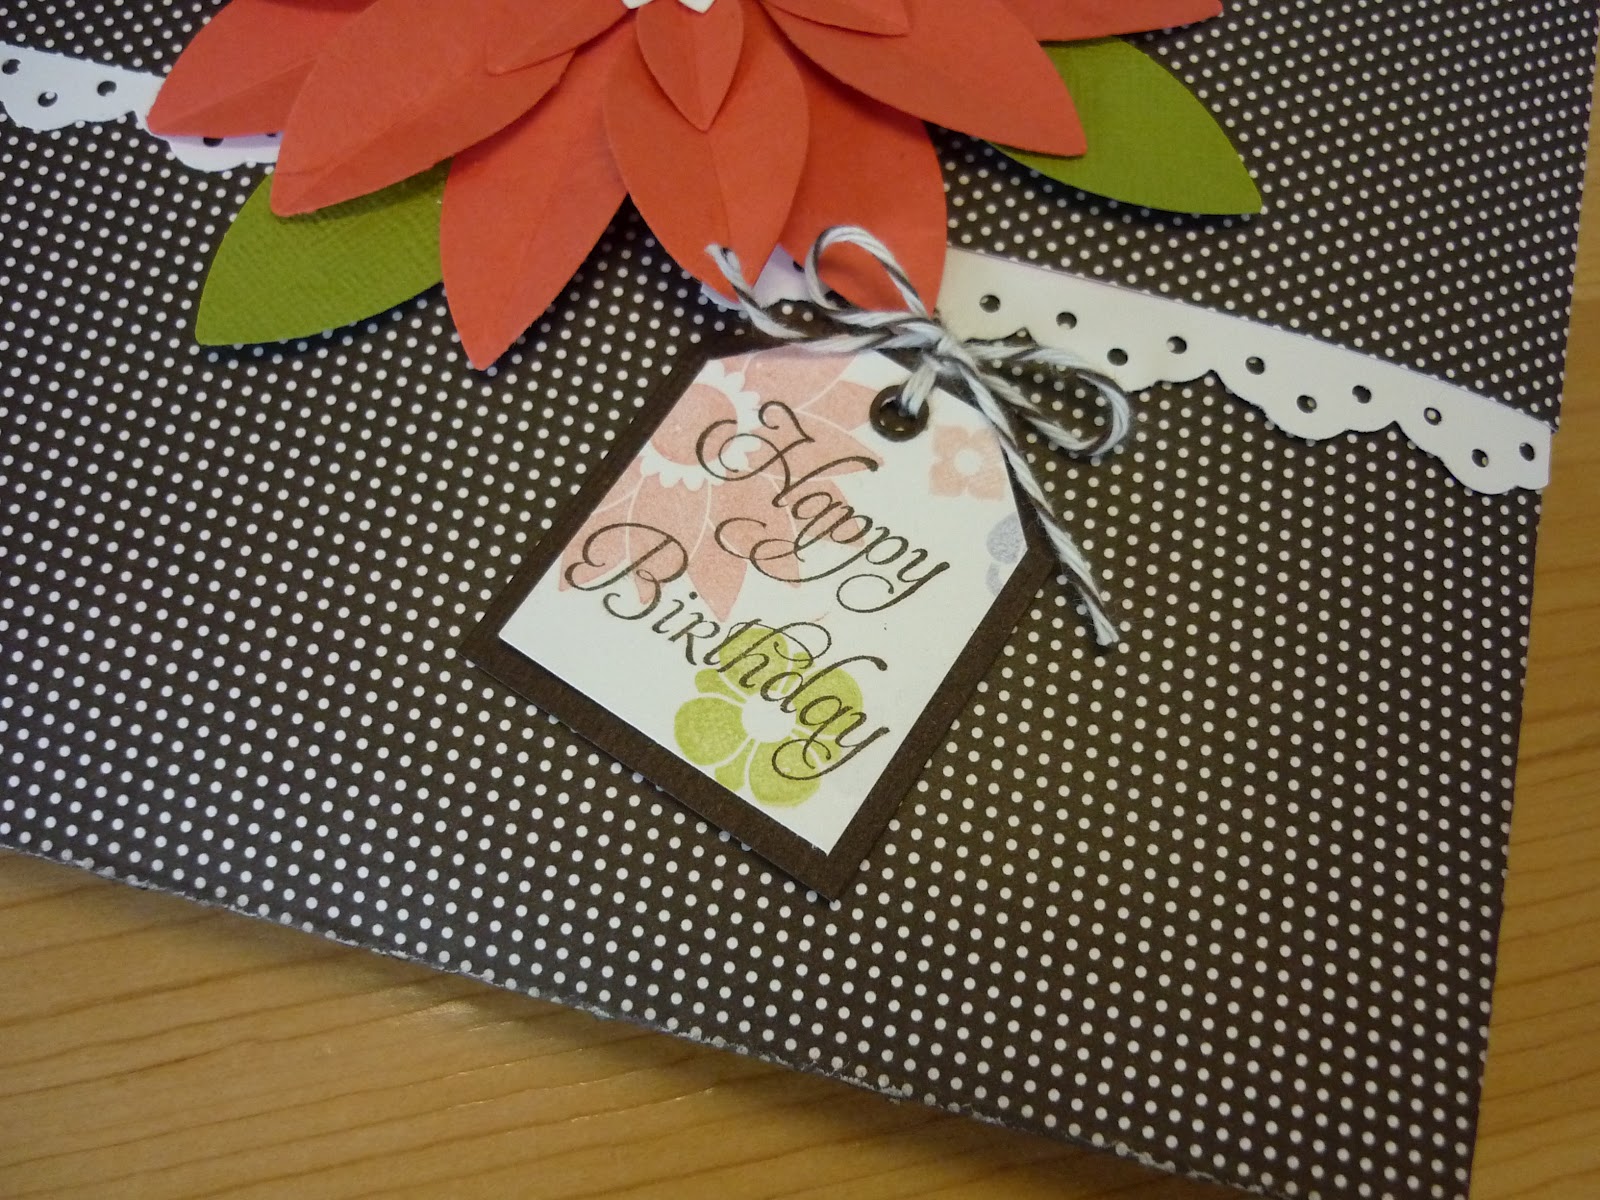
Then I created a belly band with another piece of the DSP and some Whisper White card stock that I used the, now retired, Eyelet Border punch(119853) to create the lacy edge.
On the front of the belly band I made a larger version of the flower that was on the card, you can see that post here. I used a retired fabric brad for the center of the flower and a Whisper White flower punched from the Boho Blossom punch(119858)

I also stamped Happy Birthday from the retired SAB set Elementary Elegance onto that piece of whisper white from the card, and punched out a small tag(retired) it was layered onto an extra large tag punch(119866) This was attached to the flower with a piece of Early Espresso Bakers Twine(123124)


The finished project was beautiful if I do say so myself. I was very proud of it.

I hope you have enjoyed this project!

Sharri

Saturday, April 24, 2010

Last of Easter....finally!

Here are the last of the Easter items I created this year. I think this is a shortened version on the fancy favor box that I used the Eyelet Border Punch on for the edges of the box and handle and the DSP trim, Tea Party. I needed something to make a quick simple basket for treats, it was very effective and doesn't need to be used only for Easter could be for any special treat.


This next basket is from the Big Shot Die, Baskets and Blooms, I used an Embossing folderon it before putting together, to give it some texture and then embellished it with a punched bunny on
the front and back so you can see him coming and going. He is a compilation of several bunnies I have seen over the season this year. I stamped a tag from the Eggcoutrements set and tied it on with linen thread after putting an eyelet in it. I also used a sparkly brad for his tail for lack of a pom-pom.


Thanks for stopping by,

Sharri

Wednesday, March 17, 2010

Mini Milk Cartons

This die is so much fun to play with. I've had great fun with it. I created a little basket to carry the pairs in. They're so cute!

This first set was created with the Sweet Pea DSP from the Occaisions Mini catalogue and Chocolate Chip C/S there is absolutely no stamping on these ones. I embellished the milk cartons with the Sweet Pea stitched felt flowers that are also in the mini and closed them with mini library clips. I'll fill them with some goodies for someone.

The basket is created by setting the two milk cartons side by side on my grid paper and then I added 4 inches to each measurement. and cut the card stock rectangle with these measurements. I then scored each side at 1" and 2" on all four sides and created a basic box bottom. The handle for the basket is a 12" length of C/S that has been punched along each side with the scallop border punch and the Pretty in Pink satin ribbon is placed in the centre of the handle and tied at the top.

This next set I made as a hostess gift for a friend who invited us for dinner on the weekend. I used Teaparty DSP, Certainly Celery C/S and the Etelet Border punch for the handle. The ribbon is some I had in my stash that seemed to go well with the DSP. I used the stamps from 2 different sets; Four Square and a retired set and punched them out with the scalloped square punch. I used Pink Pirouette papet to embellish the bottom of the milk cartons after punching a border with the eyelet punch.


Thses were so easy and quick to make. Hope you like them and get a chance to play with these sometime too. Stay tuned for more of these in the future.
Thanks for stopping by,
Sharri


Saturday, November 14, 2009

Bag in a box

I think this is what these are called....I love the look of them and they are so cute for small gifts or candy. They are created from a small box on the bottom the distance around should be around 11.5 inches total so you have a 1/2 inch overlap. You then take a 12x8-9 inch piece of DSP and wrap around the box lining it up at the bottom. I then took a strip of cardstock and used the border punches to create a decorative strip and again lined it up along the bottom of the box and wrapped it around the DSP(I like the narrower border better than the wider one). Punch out 2 round tab punches and fold in the center the place centrally on either side of the bag top to create a holder for the ribbon; try to align these so they are opposite each other. Punch a 1/4 inch hole just below the fold in each tab punch and thread a matching ribbon through and tie.
Decorate the bag as you would like. This worked up really quick once I decided on the DSP and color combo.
We're still under construction so I can't find anything...it all seems to get piled on my work table and then when I do get time to play I have to organize, soon to be done I hope.
Thanks for stopping by.

Sharri

Saturday, November 7, 2009

Seasonal Baskets

I can't beleive this week has flown by so fast, I don't know where it went. We've been in the middle of having new windows and a couple of patio doors put in as well as having the house insulated and new siding so have been very busy.Of course there are always glitches....the sills under the back part of the house were rotting when they removed the siding so they had to be replaced, this meant the deck at the back had to be partially removed...ugh!! Oh well it'll soon be done and we'll have a lovely warm "new" house this winter.

The picture above is of a few baskets I made from 12x12 DSP( , you score each side at 4 inches and cut into the score line on two sides at the 4 and 8 inch score lines. The handle is made from a 1.5 x12 inch piece of DSP that has been punched with the eyelet border punch on both of the long sides. the fold up the two cut squares to meet half way into the middle square. These are secured with a brad through all layers and the handle as well. It takes about 5-10 minutes to make start to finish and it's really cute. These are great for holding candy, treats or light weight articles. They can be made smaller by usung paper 9x9 and scoring 3 inches on all sides or even 6x6 scoring 2 inches on each side. Hope you like it.
Thanks for looking.
Sharri

Tuesday, September 15, 2009

On Dasher!

I finally played with my new Christmas DSP tonight. The stripes come from the Merry Moments paper pack. Dashe was stamped in Chocolate Chip onto Very Vanilla cardstock. I used the mat pack to perforate around the edges of the layer then layered it onto Real Red and Old Olive; Mini Brads were added in the corners. At the bottom I layered the eyelet border punch in the three colors of CS and added the Sleigh Bells ribbon from the Holiday Mini Catalogue. The greeting is stamped and then punched out with the word window punch, and this is then layered and staggered onto word windows of each color to frame the image. The sentiment is from Teeny Tiny Wishes. Hope you like it!
Thanks for looking,

Sharri